Hey everyone,
I know that some of you, Many of you, already do this (I've see it mentioned in posts and comments). But this is for those of you who have never tried it.
Wednesday, Terri and I went to the Commissary at Langley AFB and stocked up on all kinds of stuff! MY bill was for over $200.00! That may be low for some of you, But I only need to feed me, Daisy and Luke. And yes, I did not get all "What's Good for You " stuff.
But I did get MEAT! And I know that it's not the best I could have gotten. But I still need to find a locale place for Beef, Pork and Chicken. What I really need to do is RAISE IT MYSELF!
But here we go!:
Back when I was married, We got a "Food Saver" vacuum sealer and when we split, I got it! And I use it all the time!
Please excuse the pictures, Some of them are pretty bad! I need a new Camera!
 |
| This the Food Saver. It's a older model and I have had it for years. But it still works great and I will use it until it dies. And you can see the box in the back ground that the roll of bags (2) comes in, and yes it is a " Rival" Brand. They coast a lot less and do the job just fine! The button to the left is the power button and the little window to the upper right is a green light that goes out when the bag is sealed. | | | |
The little hole under that is for sealing canning jars! Yep, you can do that too! Try it with a jar half full of Marshmallow's! It's pretty cool and the Kids will love it!!!
 |
| This is what it looks like with the lid opened. Right in front of the black gasket is the heat strip that seals the bags. And when you are ready to seal the bottom of the bags you place one opened end right up against the gasket, close the lid and hold it down. press the power button and the green light comes on. When the light goes out, it's sealed! |
 |
| This is how I cut the bags. The blue painters tape is there so I can run the bag roll to the edge of the table to get the size bag I want |
 |
| Slip the bag under the little ruler to the the edge of the table and then slide the orange cutting tab across the bag. Presto! A bag opened at both ends. So you seal one end of the bag as I described on the previous picture. You can see the area on the bag where you can write the date and food it is. I do this before I load the bag. |
 |
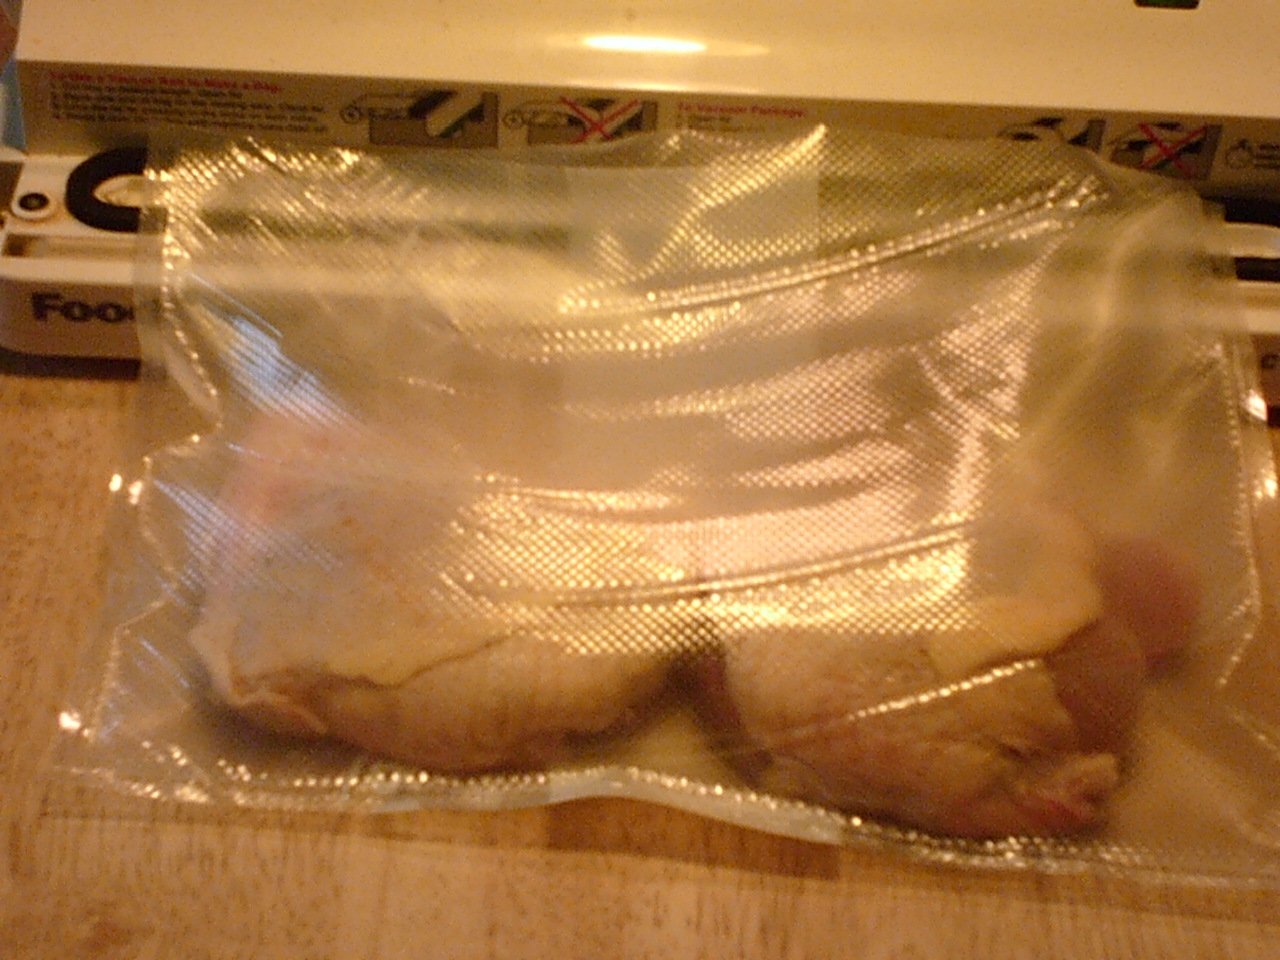
| Two Chicken leg quarters per bag! Place the open end of the bag so that it crosses over the well inside the gasket (This is where the vacuum happens). Close the lid. There are two buttons, one on ether side, Push them until they click. Push the power button, the vacuum starts and the bag will collapse around the Chicken. The green light will come on (indicating the bag is being sealed). When the light goes out, your done! |
 |
| 10 bags of Chicken ready for the freezer! |
 |
| Ground Beef was next! |
 |
| After the bags are sealed, I punch down the Beef and flatten it out. It stacks in the freezer better! |
 |
| Notice the label! I believe in simplicity! |
 |
| 8 bags of Ground Beef ready for the freezer! |
 |
| And last, but not least, Bone-in Pork Chops! |
 |
| They get Bagged too! |
 |
| Every body in the freezer! Where they will stay for Days, Weeks or Months! With NO FREEZER BURN!!! |
|
|
I think that the Vacuum Sealer has payed for itself many times, Because I do not throw out food because of FREEZER BURN!
And it can be used for soft foods too! Strawberries, Blueberries, Fish... The list goes on and on! All you have to do is place the soft food on a Parchment lined cookie sheet and place in it in the freezer, Let it freeze hard and place it in a bag, Vacuum Seal and put it back in the freezer! As Carolyn said (Karaso Acres), EASY - PEESY!
There you have it folks. I will now take off my teacher hat and go get a BEER!(Yep, Got some of that Wednesday too!!).
Nope, can't do that! Tonight is my first night back at work after a week off!
DAM and double DAM!! OH Well, maybe some Ice Coffee?
Who wants to come for Dinner?
TOM